

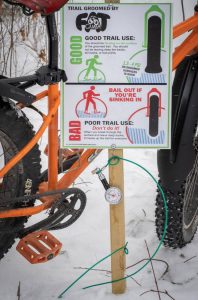
You will see these signs up at many winter trailheads.
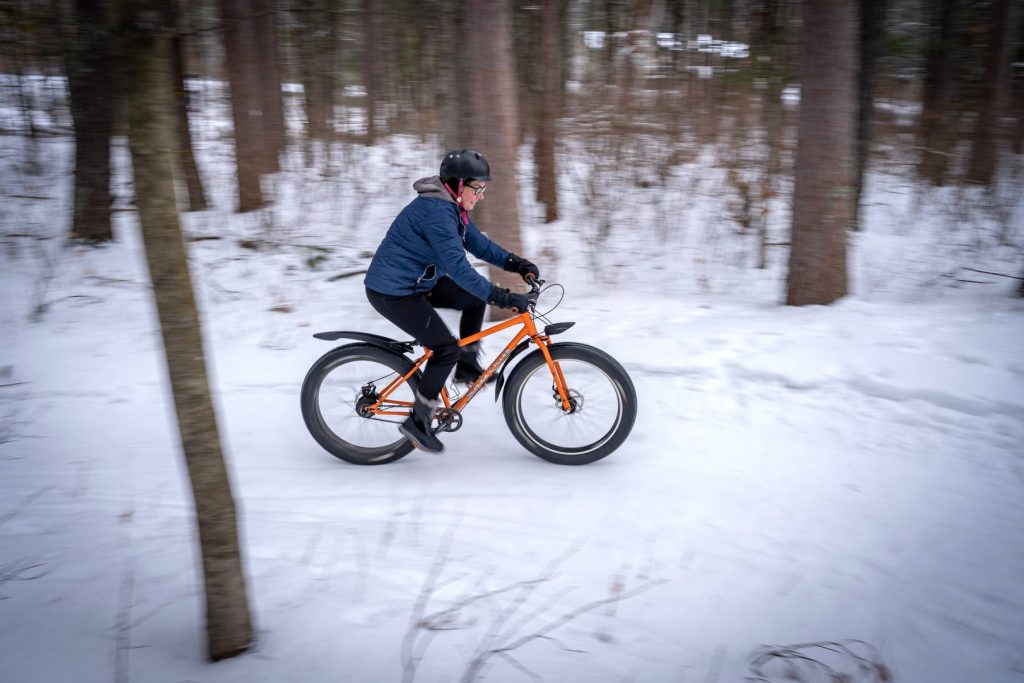
The crew of mostly volunteers at the Chequamegon Area Mountain Bike Association now have nearly 65 miles of groomed trails ready for fat bike fun. As of the publication of this news post, the recent wet snow has been compacted by multiple grooming sessions and the colder temperatures set nearly perfect conditions and a hard tread. But the forecast calls for warmer days when low tire pressures are critical to traction, control and not damaging all the hard work that went into the trails. I hope this article helps if you have been stuck in a rut.
The general advice below is particularly important when the temperatures are in the mid to upper twenties and it is sunny outside. They are also important after we have a fresh snowfall, but really should be followed anytime you are riding on a groomed winter trail.
When I am out on the winter trails and I run into someone who complains to me about losing traction when trying to ride up hills or about losing control steering through downhill corners, the first thing I do is check their tire pressure. Inevitably it is too firm and I let some air out. Besides giving the rider more control and help climbing our many hills in CAMBAland, it also reduces the chances the rider will create ruts in the trails.
The pandemic got a lot of people back out on bikes. It is hard to find a fat bike in stock at many bike stores. With so many new riders out on the trails, we thought it might help to publish a little reminder about proper tire pressure for various winter trail conditions.

The gauges fit schraeder and presta valves, and hold pressure after removed from the stem so you can check it easily.
In general, it should never be necessary to run more than 5 psi (pounds per square inch) in fat bike tires when riding on groomed winter trails. I am often running below 3 psi. In warm, soft conditions, I sometimes run pressures just below 2 psi.
But how do you tell if you have your pressure low enough when most bicycle pumps don’t read accurately below 10 psi? First, CAMBA now has low-pressure Fat Max 15 gauges at many of our trailheads thanks to a generous donation from our pals at Planet Bike, a great Wisconsin bicycle company based out of Madison. Soon we will have gauges at all the major winter trailhead locations.
We also have informational signs up that illustrate how fat bike tires with proper low pressure flatten out when you sit on the bike. By flattening out, your weight is spread out over a larger footprint that allows the tires to float across the groomed surface without sinking in. The other benefit is better traction climbing hills and more control in turns.
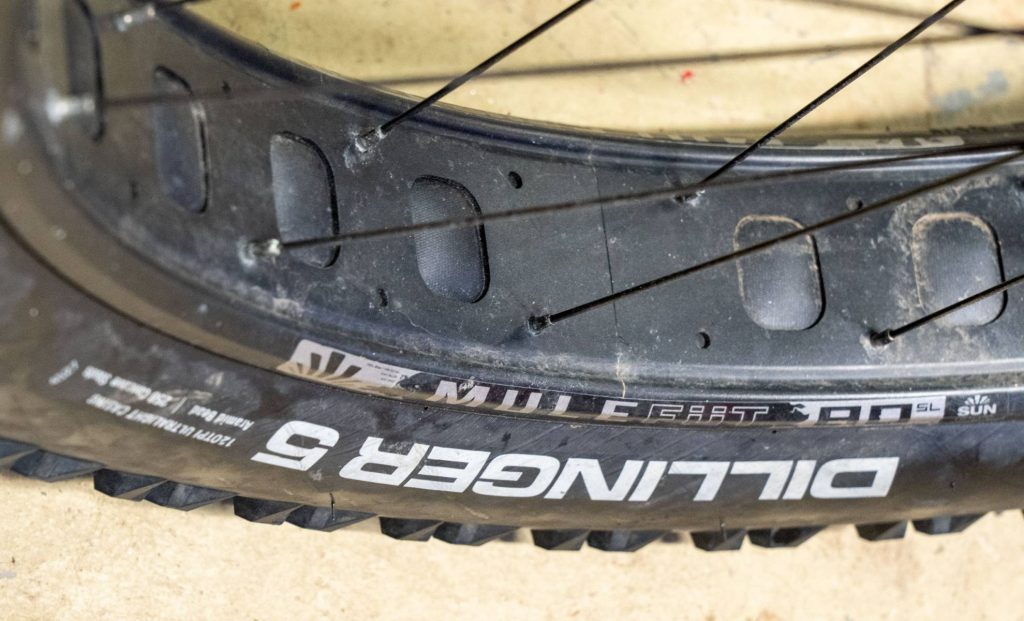
This tire is filled to 3 psi but shows no wrinkles in the sidewall without me sitting on the bike.
With no rider on the bike, even 3psi gives a round profile.
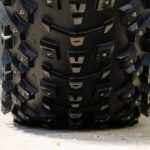
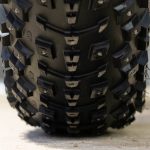
The tire flattens when a rider is on the bike
It takes a close look to see the tire spread out when you look down at it. Try putting one hand on a tree or our trailhead sign, grab the front brake and sit on your bike with the pedals level. Then look down from below your handlebars to check if your tire looks like it is spread out a bit.
One other technique many experienced fat bike riders use to adjust air pressure in the field is looking for wrinkles in the tire sidewall. A common question is “How many wrinkles you running. one or two?” You can see this illustrated in the photos and below. You can clearly see the wrinkle in the lower photo after I sat on the bike.
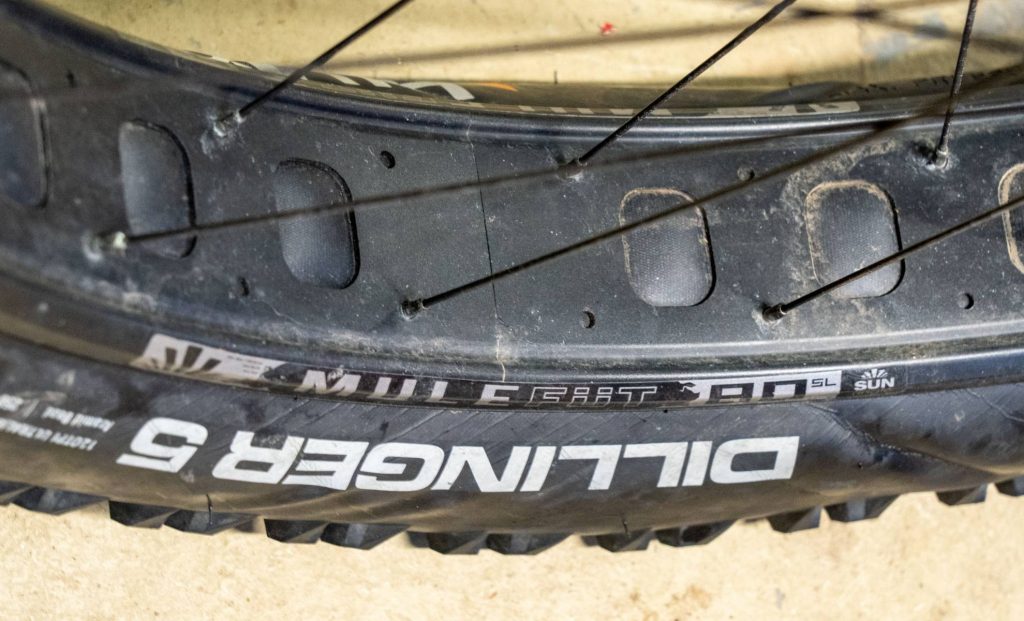
When I sit on the bike, the sidewall of the tire now shows slight wrinkles.
The quoted text below is a note from our head groomer to further explain his thoughts on this issue:
My fellow CAMBA volunteers and I groom more than 50 miles of some of the most popular fat bike trails in the upper midwest. I have been riding fatties for over 10 years, and have completed every Fat Bike Birkie. All that experience grooming and riding has taught me that less is usually more when it comes to tire pressure.
Most fat bike tires are hard at 6 to 8 psi. My combined rider and bike weight is just over 200 pounds. I never run more than 6 psi on snow, and never more than 8 or 10 psi on dirt or gravel.
I run supple, 120 tpi tires. I usually run 4 psi in my 4.8-inch front tire and 5 psi in my 3.8 inch rear tire on groomed trails. We recommend generally tire pressures between 3 and 5 psi on our groomed trails. Freshly groomed trails require less tire pressure than trails that have had time to set up and become firm.
Bigger tires, and tires with stiff sidewalls, require less tire pressure than smaller and more supple tires. The best test for where you should start out for tire pressure is to place a hand on the top of a tire and lean on it. You should be able to flatten out the top of the tire so that only the side most lugs are not flat. If it feels bouncy on the trail or doesn’t steer well, then you can add 10 to 20 pump strokes. If you are having control problems or are leaving a tire imprint deeper than your tire’s lugs, take a moment to let 1 or 2 seconds of air out of the tire.
Remember, Less is More – Judge Jerry, head groomer
If you follow this advice, not only will you have more control in turns and an easier (I didn’t say easy) time riding up hills, you won’t cause ruts in the surface of the groomed trails that make it more difficult for riders behind you or you to session the loop. You will also be doing our groomers a favor, so they don’t have to go out as often.
A few other tips on groomed trail etiquette:
- If you do need to hop off your bike to climb a hill, please try to walk on the side of the trail, ideally off the groomed surface.
- After a trail is groomed, it sometimes takes overnight for the surface to set up and harden. Our groomers typically go out late afternoons or at night so as not to interfere with riders.
- Try not to lock up your rear brake on steep descents. Locking up your rear brake causes ruts and does nothing to increase your control. Use firm, steady pressure on your front brake to control your speed and feather the rear brake just enough to keep the rear end where you want it. If you are fearful of going over the handlebars simply lower your chest and push yourself farther back on the bike to keep your weight vertically above or slightly behind the pedals.
- Please do not hike or trail run on groomed trails. People are welcome to snowshoe on them, but walking causes divots that make for a bumpy bike ride.
We hope you have a great time riding the groomed trails in CAMBA Country.
We hope this doesn’t come across too heavy-handed. We really just want as many people to have as much fun as possible on the amazing network of trails our volunteers maintain all winter, thanks. If you have any questions, feel free to post them by scrolling to the comment section at the bottom of this page.